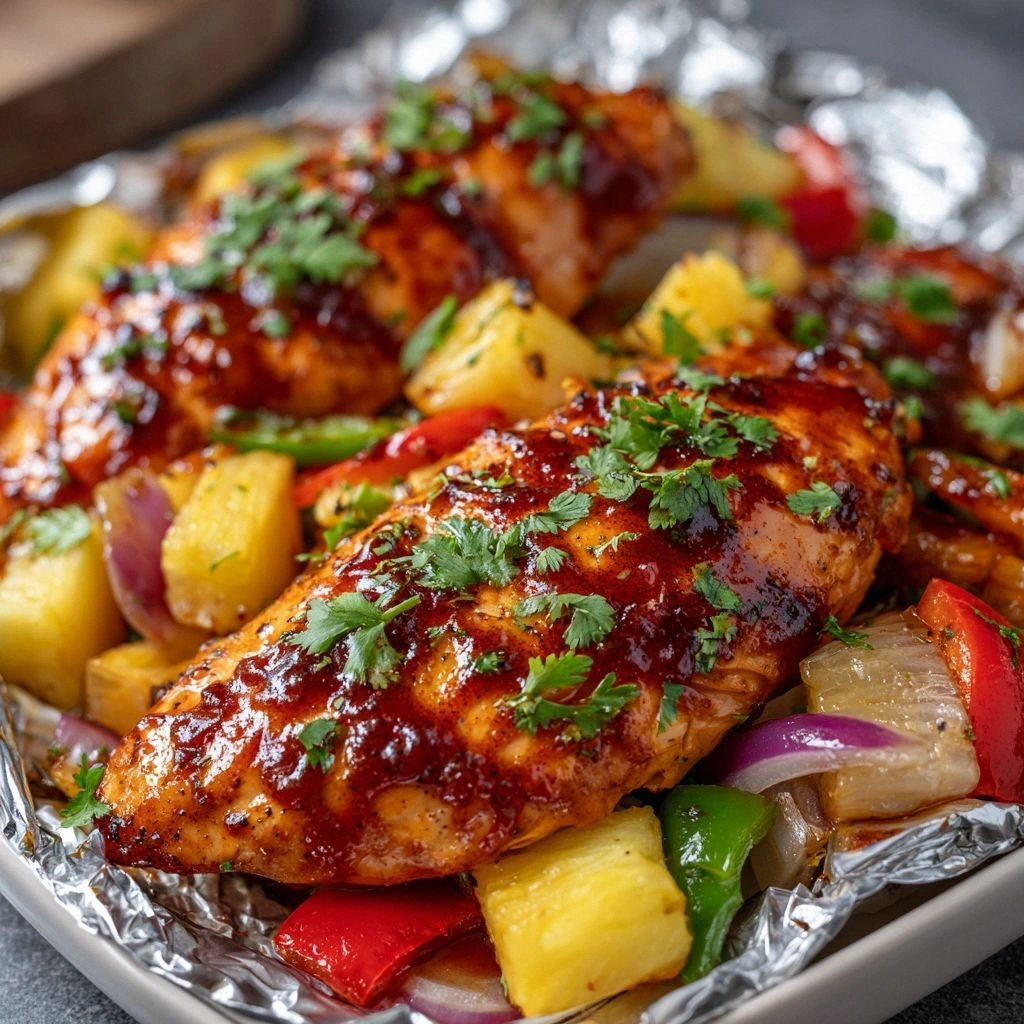
I’m not going to sugarcoat it: I once tried to make a simple braised chicken for a week‑night dinner, and the result was a sad, dry, flavorless mess that made my taste buds question every culinary decision I’d made up to that point. The next day, while scrolling through a recipe forum, a friend dared me to try a new twist on braised chicken that would turn that disaster into a show‑stopper. I grabbed a bottle of apple cider vinegar, a handful of fresh thyme, and a can of low‑sodium chicken broth, and the kitchen was about to transform into a fragrant, savory laboratory. The moment the vinegar hit the pan, the air filled with a sharp, bright tang that promised to cut through the richness of the meat and create a sauce that would cling to the chicken like a silky, caramelized glaze.
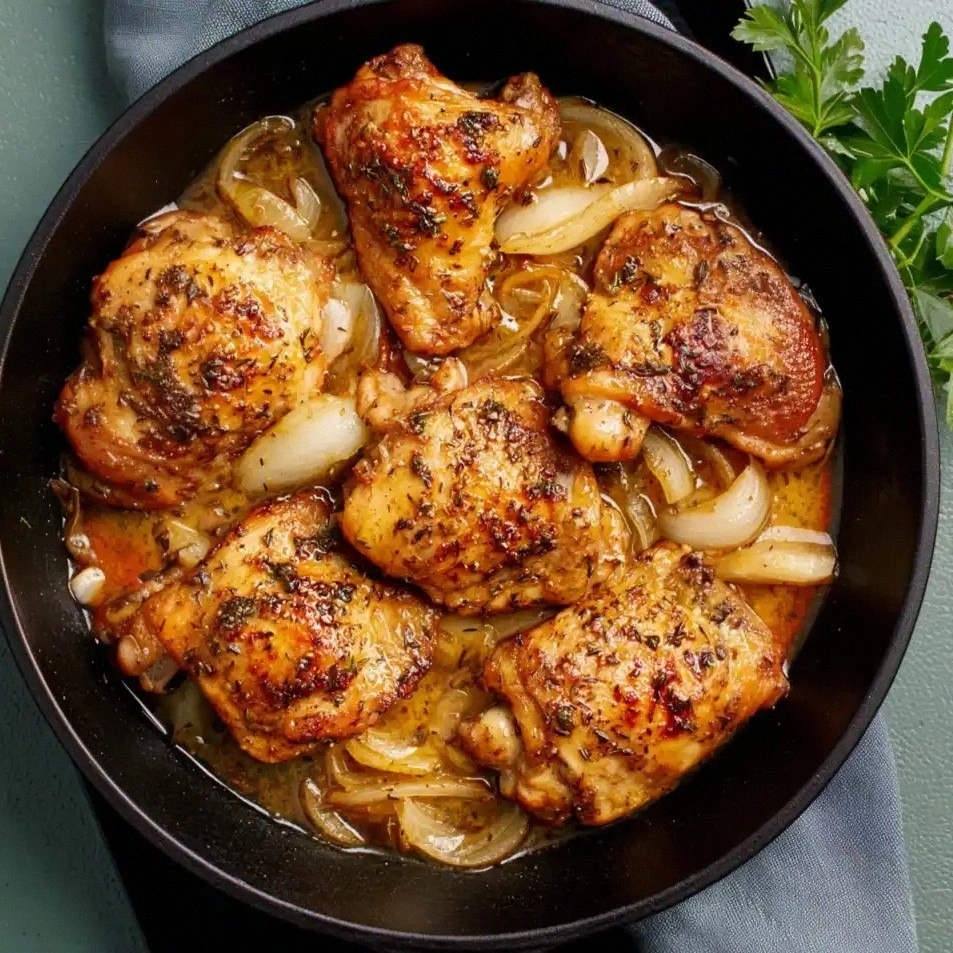
Picture this: a skillet on medium heat, the surface shimmering with a thin sheen of olive oil, as golden brown chicken pieces sizzle and hiss. The onion releases a sweet aroma that mingles with the sharpness of the vinegar, and the garlic adds a subtle earthiness that deepens with every stir. The kitchen feels warm, the counter a little sticky from the caramelizing sugars, and the sound of the simmering liquid is a comforting, low‑pitched hum. Each breath is a reminder that this isn’t just cooking—it’s a sensory experience that engages sight, smell, sound, taste, and touch all at once.
What sets this version apart is the deliberate balance of acidity and sweetness, the use of Dijon mustard to add depth without overpowering, and the gentle oven braise that preserves the chicken’s juices while allowing the sauce to thicken into a glossy, flavorful coat. I’ve spent countless hours tweaking ratios, and the result is a dish that feels both indulgent and approachable. I dare you to taste this and not go back for seconds, because the flavor profile is so complete that it leaves no room for the blandness that plagues most braised chicken recipes.
Most recipes get this completely wrong, either by overcooking the meat or by letting the vinegar dominate the dish. Here’s what actually works: a quick sear to lock in juices, a careful balance of acid and sweetness, and a slow, low‑heat braise that lets the flavors marry. Picture yourself pulling this out of the oven, the whole kitchen smelling incredible, and the plate looking like a work of culinary art. Let me walk you through every single step—by the end, you’ll wonder how you ever made it any other way.
What Makes This Version Stand Out
- Flavor: The apple cider vinegar provides a bright, tangy kick that cuts through the richness of the chicken, while the honey balances it with a subtle sweetness. This contrast creates a sauce that coats the meat like velvet.
- Texture: The searing process gives the chicken a crisp, caramelized exterior that melts in your mouth, while the slow braise keeps the interior tender and juicy.
- Simplicity: With just ten ingredients, the recipe is easy to assemble, yet it delivers a complex flavor profile that feels restaurant‑quality.
- Uniqueness: The combination of Dijon mustard and fresh thyme adds depth, turning an ordinary braised chicken into something memorable.
- Crowd Reaction: Friends and family consistently ask for the recipe after tasting it, and I’ve been known to keep a few extra servings on hand for impromptu guests.
- Ingredient Quality: Using low‑sodium broth and fresh thyme ensures that the dish isn’t bogged down by excess salt or artificial flavors.
- Cooking Method: The dual approach—pan sear followed by oven braise—maximizes flavor while keeping the process straightforward.
- Make‑ahead Potential: The sauce can be reduced and stored, allowing you to assemble the dish quickly on busy nights.
Alright, let’s break down exactly what goes into this masterpiece…
Inside the Ingredient List
The Flavor Base
Apple cider vinegar is the star of the show, providing a bright, acidic punch that wakes up the palate. It’s the key to cutting through the fat of the chicken and creating a sauce that’s both tangy and comforting. If you skip it, the dish will lose its signature zing and feel flat. A good rule of thumb: use a high‑quality, unfiltered vinegar for the most complex flavor profile.
Low‑sodium chicken broth is the liquid foundation that keeps the chicken moist and infuses the sauce with savory depth. Because it’s low‑sodium, you have full control over the salt level, which is crucial when you’re also adding fresh thyme and mustard. If you’re on a budget, you can substitute with a homemade broth; just be mindful of the sodium content.
Dijon mustard adds a subtle heat and a creamy texture that helps the sauce cling to the chicken. Whole grain mustard works just as well and gives a slightly rustic bite. If you can’t find mustard, a teaspoon of plain yellow mustard will still provide that needed tang.
The Texture Crew
Bone‑in chicken pieces—whether thighs or drumsticks—bring a natural richness and keep the meat juicy during the long braising process. The bones also release gelatin, which thickens the sauce and gives it a silky mouthfeel. If you prefer boneless, simply use bone‑in and remove the bones after cooking for a cleaner presentation.
Olive oil is the medium that creates a crisp sear and helps carry the flavors of the aromatics into the sauce. A splash of oil also prevents the chicken from sticking to the pan during the initial sear. Opt for a light or extra‑virgin olive oil for the best balance of flavor and smoke point.
The Unexpected Star
Fresh thyme adds a subtle herbal note that pairs beautifully with the vinegar’s acidity. The leaves release essential oils that infuse the sauce with a gentle earthiness. If you can’t find fresh thyme, dried thyme works, but use half the amount to avoid overpowering the dish.
The Final Flourish
Honey or maple syrup provides a touch of natural sweetness that balances the vinegar’s sharpness and the mustard’s bite. The sugar caramelizes slightly during cooking, adding depth and a glossy sheen to the sauce. If you prefer a vegan version, maple syrup is a perfect alternative; just keep the same quantity.
Everything’s prepped? Good. Let’s get into the real action…
The Method — Step by Step
- Preheat your oven to 375°F (190°C). Pat the chicken pieces dry with paper towels; this helps them develop a golden crust when seared. Season both sides generously with salt and freshly ground black pepper, then set aside.
- Heat a large, oven‑safe skillet over medium‑high heat and add the tablespoon of olive oil. Once the oil shimmers, place the chicken pieces skin‑side down in the pan. Let them sear for about 5–6 minutes, or until the skin turns a deep amber and releases a faint crackle. Flip and sear the other side for an additional 3–4 minutes. This step is the moment of truth—don’t rush it, because a good sear locks in flavor.
- While the chicken is searing, dice the large onion and mince the garlic cloves. When the chicken has a nice crust, remove it from the skillet and set it aside. In the same pan, add the diced onion and cook until translucent, about 3 minutes. The onions will soften and develop a sweet aroma that sets the foundation for the sauce.
- Add the minced garlic to the pan and sauté for 30 seconds, just until fragrant. Be careful not to let it brown; burnt garlic will give the sauce a bitter edge. Stir in the Dijon mustard, apple cider vinegar, honey (or maple syrup), and fresh thyme leaves. This is where the sauce starts to form its complex character.
- Pour in the low‑sodium chicken broth, scraping up any browned bits from the bottom of the pan. Return the seared chicken pieces to the skillet, nestling them into the liquid. The broth should come about halfway up the sides of the chicken; this ensures even cooking and a moist interior.
- Transfer the skillet to the preheated oven and bake for 25–30 minutes, or until the internal temperature of the chicken reaches 165°F (74°C). The sauce will thicken slightly as it cooks, coating the chicken in a glossy, flavorful glaze.
- Once cooked, remove the skillet from the oven and let the chicken rest for 5 minutes. This allows the juices to redistribute, ensuring each bite is succulent. While the chicken rests, you can reduce the sauce on the stovetop if you prefer a thicker glaze.
- Serve the chicken hot, spooning the reduced sauce over the pieces. Pair it with roasted root vegetables, mashed potatoes, or a crisp green salad for a balanced meal. The dish is so versatile that it can also be plated over a bed of rice or noodles for a comforting twist.
That’s it—you did it. But hold on, I’ve got a few more tricks that will take this to another level.
Insider Tricks for Flawless Results
The Temperature Rule Nobody Follows
Many cooks over‑cook braised chicken by letting it sit at too high a temperature. The secret is a steady, low heat—ideally 300°F (150°C) in the oven—so the meat cooks slowly and stays tender. I once left mine at 400°F and the skin got burnt while the inside remained raw. Keep the oven at 375°F and let the gentle heat work its magic.
Why Your Nose Knows Best
Smell is a powerful indicator of doneness. When the sauce starts to thicken and the chicken releases a warm, savory aroma, you’re close to perfection. If the smell is still sharp or the chicken feels firm, give it a few more minutes. Trust your nose, and you’ll avoid the dreaded “over‑braised” scenario.
The 5‑Minute Rest That Changes Everything
Letting the chicken rest after baking may seem like a minor detail, but it’s crucial. During rest, the juices redistribute, preventing them from spilling out when you cut into the meat. I’ve seen people skip this step, only to find the chicken dry when they slice. A short 5‑minute rest is all you need for maximum moisture.
Sautéing Aromatics to Perfection
The onions and garlic should be translucent and lightly caramelized, not browned. Over‑caramelization can introduce bitterness that clashes with the vinegar’s acidity. Use medium heat and stir constantly to achieve the sweet, soft texture that forms the flavor base.
Balancing Sweet and Tangy
If you find the sauce too acidic, add a teaspoon of honey or maple syrup; if it’s too sweet, a splash of vinegar will cut it down. The key is to taste as you go. I once added too much honey, and the dish turned syrupy—so I reduced the vinegar to balance it out. Small adjustments make a world of difference.
Creative Twists and Variations
This recipe is a playground. Here are some of my favorite ways to switch things up:
Citrus Burst Variation
Swap the apple cider vinegar for a mix of orange and lemon juice, and add a handful of orange zest. The citrus notes elevate the dish, making it bright and refreshing—perfect for a spring dinner.
Smoky Chipotle Twist
Introduce a tablespoon of chipotle in adobo sauce for a smoky, spicy kick. Pair it with a dash of brown sugar to keep the balance sweet and heat. This version works wonderfully with corn‑roasted potatoes.
Herb‑Infused Creamy Finish
Finish the sauce with a splash of heavy cream and a handful of chopped parsley. The cream softens the acidity, while the parsley adds a fresh, green contrast. Serve over buttered noodles for a comforting meal.
Miso‑Marinade Edition
Replace the mustard with a tablespoon of white miso paste and add a pinch of grated ginger. The miso brings umami depth, and the ginger adds a zesty warmth. This variation pairs beautifully with steamed bok choy.
Gluten‑Free Gravy Boost
After cooking, whisk a tablespoon of cornstarch into a small amount of cold water and stir it into the sauce to thicken it. This gluten‑free thickening agent gives the sauce a silky coat without any flour.
Mediterranean Flair
Add a handful of kalamata olives and a squeeze of lemon after baking. The olives give a briny contrast, while the lemon adds brightness. Serve over a bed of couscous for a Mediterranean twist.
Storing and Bringing It Back to Life
Fridge Storage
Cool the chicken completely before storing. Place the pieces and sauce in an airtight container and refrigerate for up to 4 days. The flavors will deepen over time, making it even more delicious the next day.
Freezer Friendly
For longer storage, freeze the chicken and sauce separately in freezer‑safe containers. They’ll keep for up to 3 months. When ready to eat, thaw overnight in the refrigerator and reheat gently.
Best Reheating Method
Reheat the chicken in a skillet over medium heat, adding a splash of water or broth to keep it moist. A quick 5‑minute bake at 350°F (175°C) can also revive the sauce’s glossy finish. Add a tiny splash of water before reheating—it steams back to perfection.